
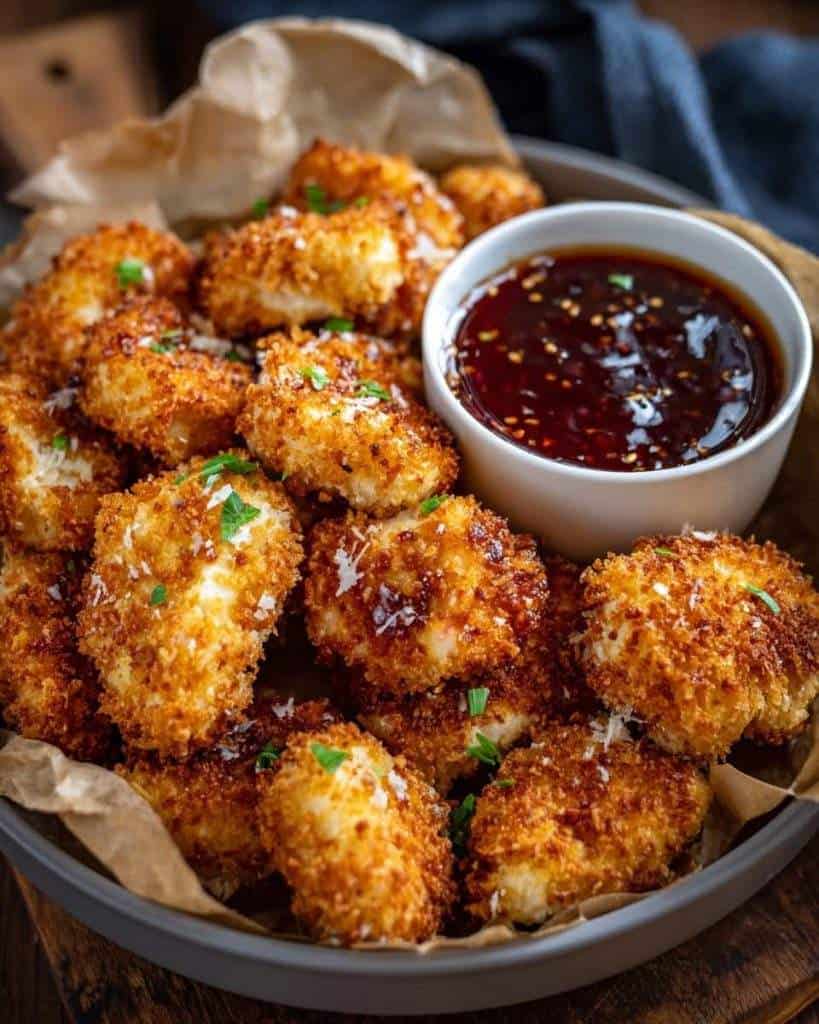
Looking for a healthier twist on a fast-food favorite? These Baked Honey Garlic Chicken Nuggets offer all the crispy, golden goodness you crave — without the excess oil or guilt. Each bite is juicy on the inside, crunchy on the outside, and coated in a rich, sweet-savory honey garlic glaze that’s utterly addictive. Made with just a handful of pantry staples, this oven-baked version is perfect for family dinners, meal prep, or even a game-day snack. Whether you’re feeding kids, guests, or just yourself, these Baked Honey Garlic Chicken Nuggets will quickly become a go-to favorite you’ll want to make again and again.
📌 Table of Contents
Ingredients for Baked Honey Garlic Chicken Nuggets
Prep & Cook Time
How to Make Baked Honey Garlic Chicken Nuggets
Tips for Garnishing and Serving
Frequently Asked Questions
Related Recipes
External Recommendations
Final Thoughts
📝 Ingredients for Baked Honey Garlic Chicken Nuggets
For the Nuggets:
1 lb chicken breast, cut into 1-inch pieces
1 cup panko breadcrumbs
½ cup grated Parmesan cheese
1 tsp garlic powder
1 tsp paprika
Salt & pepper to taste
2 eggs, beaten
Cooking spray or olive oil
For the Honey Garlic Sauce:
⅓ cup honey
3 cloves garlic, minced
2 tbsp soy sauce
1 tbsp apple cider vinegar
1 tsp cornstarch mixed with 1 tbsp water
⏱️ Prep & Cook Time
Step Time
Preparation Time 15 minutes
Baking Time 20 minutes
Total Time 35 minutes
👩🍳 How to Make Baked Honey Garlic Chicken Nuggets
- Preheat Oven:
Preheat your oven to 400°F (200°C). Line a baking sheet with parchment paper and lightly spray with oil. - Prepare Breading Station:
In one bowl, mix panko, Parmesan, garlic powder, paprika, salt, and pepper.
In another bowl, beat the eggs. - Coat the Chicken:
Dip chicken pieces into the egg, then into the breadcrumb mixture. Press firmly to coat each piece evenly. Arrange them on the baking sheet. - Bake:
Spray the tops of the nuggets with oil.
Bake for 18–20 minutes, flipping halfway through, until golden and fully cooked. - Make the Honey Garlic Sauce:
In a small saucepan, combine honey, garlic, soy sauce, and vinegar. Simmer over medium heat.
Stir in the cornstarch slurry and cook until the sauce thickens (about 2 minutes). - Toss and Serve:
Toss the freshly baked chicken nuggets in the sauce, or serve with the sauce on the side for dipping.
🍯 Tips for Garnishing and Serving
Garnish with chopped green onions or sesame seeds for a fresh finish.
Serve with steamed rice, roasted veggies, or a light salad for a complete meal.
For extra crunch, bake on a wire rack over the sheet pan.
❓ Frequently Asked Questions
Can I air-fry these Baked Honey Garlic Chicken Nuggets?
Yes! Cook at 375°F (190°C) for 12–15 minutes in an air fryer, flipping halfway through.
Can I make these nuggets gluten-free?
Absolutely. Use gluten-free breadcrumbs and tamari instead of soy sauce.
Can I use chicken thighs instead of breast?
Yes, but the texture may be slightly more tender and juicy.
🔗 Related Recipes
If you love flavorful chicken dishes, try our Garlic Butter Chicken Bites with Cajun Pasta 🍝🌶️— it’s spicy, creamy, and perfect for weeknights.
Also, don’t miss our crispy Cheesy Chicken Fajita Bake — full of Mexican-inspired goodness!
🌐 External Recommendations
Looking to explore more honey garlic chicken nugget recipes for inspiration? This Smiling Notes article provides a reliable baked version of honey garlic chicken nuggets with simple ingredients and clear directions, making it a perfect external reference for texture, flavor balance, and preparation tips: Baked Honey Garlic Chicken Nuggets
❤️ Final Thoughts
These Baked Honey Garlic Chicken Nuggets are a family favorite — crispy, saucy, and surprisingly easy to make! If you enjoyed this recipe, leave us a comment below, share it with your friends, or tag us when you try it. Thanks for spending time with us at YummyPlat!